Unlock Your Inner DJ: Easy Scratching Techniques Anyone Can Master
What is DJ Scratching and Its History?
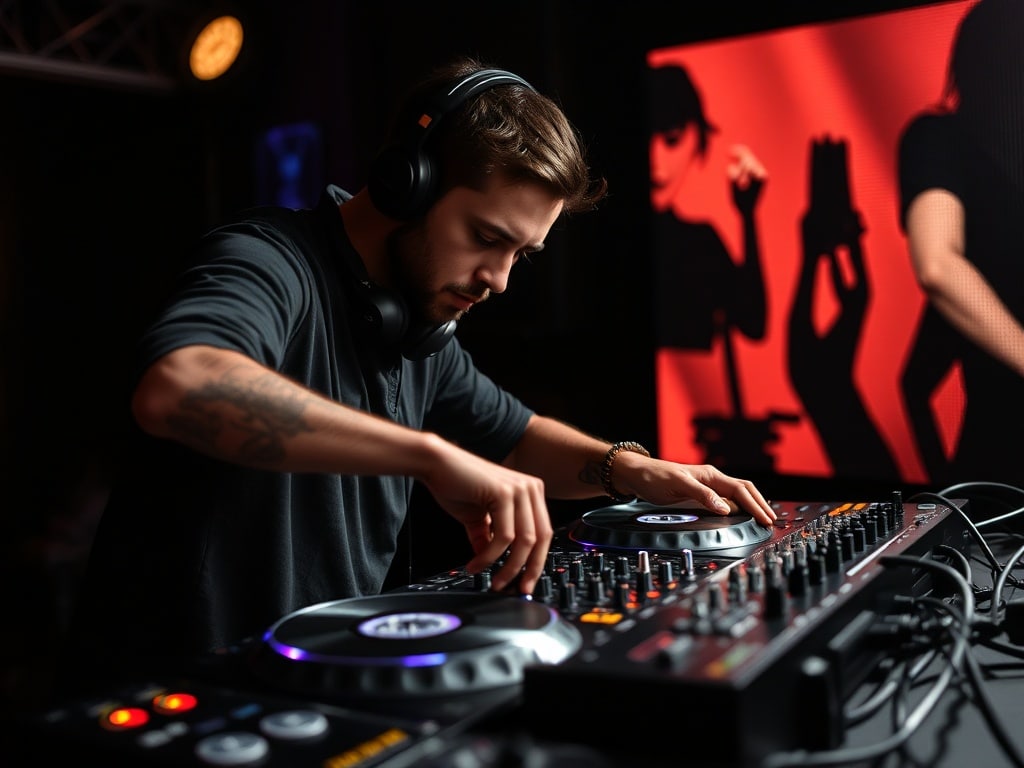
Imagine a sound so unique, so rhythmic, that it instantly grabs your attention. That's the magic of DJ scratching. But what exactly *isscratching? Simply put, it's manipulating a vinyl record on a turntable to produce percussive or rhythmic sounds. Think of it as turning your record player into a musical instrument.
The history of scratching is as vibrant as the music it creates. It emerged in the 1970s in the Bronx, New York, the birthplace of hip-hop. The pioneers, like Grandmaster Flash, Kool Herc, and Grand Wizard Theodore, were experimenting with turntables, pushing the boundaries of what was possible. Grand Wizard Theodore is widely credited with discovering the technique of scratching when he accidentally stumbled upon the sound while trying to pause a record. These innovators transformed DJing from simply playing records to a dynamic, interactive art form. Scratching quickly became a signature element of hip-hop, influencing countless DJs and musicians across genres.
Essential DJ Equipment for Scratching
You can't scratch without the right tools. Here's a breakdown of the essential DJ equipment you'll need to get started:
- Turntables: These are your primary instruments. Look for direct-drive turntables, which provide the torque and control necessary for precise scratching. Brands like Technics (though older models are sought after), Pioneer, and Audio-Technica are popular choices.
- Mixer: A DJ mixer allows you to blend and manipulate audio signals from your turntables. You'll need a mixer with a smooth crossfader, which is used to quickly switch between the audio from each turntable.
- Slipmats: These are placed between the record and the turntable platter, allowing the record to slip freely while the platter continues to spin. This is crucial for performing scratches without damaging your records or the turntable motor.
- Needles (Cartridges): The needle reads the audio information from the record. Choose needles specifically designed for scratching, as they are more durable and provide better tracking. Look for cartridges from Ortofon, Shure (discontinued but still available), or Audio-Technica.
Basic Scratching Techniques
Ready to make some noise? Here are three basic scratching techniques that every beginner should learn:
- Baby Scratch: This is the foundation of all scratching techniques. It involves moving the record back and forth in short, controlled movements while opening and closing the crossfader.
- Forward Scratch: A variation of the baby scratch where you emphasize the forward movement of the record.
- Backward Scratch: The opposite of the forward scratch, emphasizing the backward movement of the record.
How to Set Up Your DJ Equipment for Optimal Scratching Performance
Proper setup is key to a smooth scratching experience. Follow these steps:
- Position Your Turntables and Mixer: Place your turntables on either side of the mixer, ensuring they are stable and at a comfortable height.
- Connect the Turntables to the Mixer: Use RCA cables to connect the outputs of your turntables to the inputs of your mixer.
- Ground Your Turntables: Connect the ground wires from your turntables to the grounding post on your mixer to eliminate hum.
- Install Slipmats: Place the slipmats on the turntable platters.
- Mount Your Cartridges: Carefully mount your cartridges on the tonearms of your turntables and adjust the tracking force according to the manufacturer's instructions.
- Test Your Setup: Play a record and test the audio levels. Adjust the trim knobs on your mixer to ensure a balanced sound.
Step-by-Step Guide to Performing the Baby Scratch
Let's start with the baby scratch. This is your foundation. It takes practice, so be patient!
- Start with the Record Stopped: Place the needle on the record at a point with a clear, percussive sound.
- Open the Crossfader: Position the crossfader on the side of the turntable you're using.
- Move the Record Forward Slightly: Gently push the record forward a short distance (about an inch or two).
- Move the Record Backward to the Starting Point: Pull the record back to its original position.
- Repeat the Forward and Backward Movement: Practice this motion repeatedly, focusing on keeping it smooth and consistent.
- Close the Crossfader: As you move the record backward, quickly close the crossfader.
- Open the Crossfader Again: As you move the record forward, quickly open the crossfader.
- Practice the Rhythm: Focus on creating a rhythmic pattern with the opening and closing of the crossfader and the movement of the record.
Mastering the Forward Scratch
The forward scratch builds on the baby scratch. The key is to emphasize the forward motion.
- Perform the Baby Scratch Motion: Start with the same forward and backward motion as the baby scratch.
- Emphasize the Forward Movement: When moving the record forward, apply slightly more pressure and make the movement a bit more pronounced.
- Soften the Backward Movement: When moving the record backward, ease up on the pressure and make the movement a bit smoother.
- Adjust the Crossfader Accordingly: Open the crossfader fully during the forward movement and close it quickly during the backward movement.
- Practice the Rhythm: Focus on creating a forward-leaning rhythm with the scratch.
Executing the Backward Scratch with Precision
The backward scratch is the inverse of the forward scratch, emphasizing the backward motion.
- Perform the Baby Scratch Motion: Start with the same forward and backward motion as the baby scratch.
- Emphasize the Backward Movement: When moving the record backward, apply slightly more pressure and make the movement more pronounced.
- Soften the Forward Movement: When moving the record forward, ease up on the pressure and make the movement smoother.
- Adjust the Crossfader Accordingly: Open the crossfader fully during the backward movement and close it quickly during the forward movement.
- Practice the Rhythm: Focus on creating a backward-leaning rhythm with the scratch.
Common Mistakes to Avoid When Learning to Scratch
Everyone makes mistakes when learning to scratch. Here are some common pitfalls to avoid:

- Using Too Much Pressure: Applying excessive pressure to the record can damage it and the needle. Use a light, controlled touch.
- Rushing the Movements: Scratching requires precision and timing. Don't rush the movements; focus on keeping them smooth and consistent.
- Ignoring the Rhythm: Scratching is all about rhythm. Pay attention to the beat and try to create musical patterns.
- Using Worn-Out Equipment: Using worn-out slipmats or needles can make scratching difficult and damage your records. Keep your equipment in good condition.
- Not Practicing Enough: Scratching takes time and practice. Don't get discouraged if you don't see results immediately. Keep practicing, and you'll eventually improve.
Tips for Practicing and Improving Your Scratching Skills
Practice makes perfect! Here’s how to make your practice sessions effective:
- Start Slowly: Begin with slow, deliberate movements and gradually increase the speed as you become more comfortable.
- Practice Regularly: Dedicate time each day or week to practice your scratching. Even short, focused practice sessions can be beneficial.
- Record Yourself: Record your scratching sessions and listen back to identify areas for improvement.
- Practice with Different Records: Experiment with different records to find sounds and rhythms that inspire you.
- Listen to Other DJs: Listen to DJs who are skilled scratchers and analyze their techniques.
Combining Scratches: Creating Simple Scratch Patterns
Once you've mastered the basic scratches, you can start combining them to create simple scratch patterns. Here's how:
- Start with a Simple Combination: Try alternating between the baby scratch and the forward scratch.
- Vary the Rhythm: Experiment with different rhythms and timings for each scratch.
- Add Complexity Gradually: As you become more comfortable, add more scratches and variations to your patterns.
- Listen to the Overall Sound: Focus on creating a cohesive and musical sound with your scratch patterns.
Advanced Scratching Techniques to Explore
Ready to take your scratching to the next level? Here are some advanced techniques to explore:
- Chirps: A quick flick of the wrist combined with precise crossfader movements.
- Stabs: Short, abrupt movements of the record to create a staccato sound.
- Transforms: Using the crossfader to quickly chop and manipulate the sound.
Famous DJ Scratch Artists and Their Signature Moves
Inspiration can come from the greats. Here are some iconic DJs and their signature scratching styles:
- Grandmaster Flash: Known for his innovative cutting and mixing techniques.
- DJ Jazzy Jeff: Renowned for his complex and intricate scratching patterns.
- DJ Qbert: A master of turntablism, known for his advanced scratching techniques and creative routines.
- A-Trak: Celebrated for his versatility and technical skills, blending hip-hop with electronic music.
Resources for Learning More About DJ Scratching
The learning never stops! These resources can help you further develop your scratching skills:
- Online Tutorials: YouTube is a treasure trove of tutorials. Search for scratching tutorials for beginners.
- Online Courses: Websites like Skillshare and Udemy offer comprehensive DJ courses, including in-depth scratching lessons.
- DJ Communities: Join online forums and communities to connect with other DJs, share tips, and get feedback.
Incorporating Scratching into Your DJ Sets
Scratching can add a dynamic and exciting element to your DJ sets. Here are some tips for incorporating scratching effectively:
- Use Scratching Sparingly: Don't overdo it. Use scratching to punctuate certain moments or add emphasis to your mixes.
- Choose the Right Moments: Scratch during breaks in the music or to transition between songs.
- Practice Your Scratching Cues: Know exactly where you want to scratch in each song and practice your cues.
- Be Creative: Don't be afraid to experiment with different scratching techniques and patterns to create your own unique style.
The Future of DJ Scratching
While deeply rooted in tradition, DJ scratching continues to evolve with new technologies and techniques. Digital DJing software like Serato and Traktor have introduced new possibilities for scratching, allowing DJs to manipulate digital audio files with turntables or specialized controllers. The integration of AI and machine learning could further enhance scratching techniques, enabling DJs to create even more complex and innovative sounds. No matter how technology evolves, the core elements of creativity, skill, and musicality will always be at the heart of DJ scratching.

